01

How to Repair a Windshield

ellipse

By  AIS Windshield Experts

Category:  Car Windshield

Driving a car with a cracked windshield is the kind of problem you don’t want. Impaired vision, a greater risk of accidents and the constant reminder that you need to repair crack in windshield is enough to put you in a foul mood. Not only do you have to take time out of your busy day but you also end up spending a huge amount for the service. Need a windshield replacement urgently but find yourself in a tough spot? In such situations, a DIY windshield repair process can serve as an economical alternative to fix small chips and cracks.
  1. Repair or Replace
Windshields are crucial for maintaining a car’s structural integrity. Before you do anything else, take stock of the crack and figure out whether you can repair crack in windshield or if it needs a total replacement. Repairing a windshield which is in dire need of a replacement can do more harm than good. A crack smaller than a quarter and between 3-15 cm can be relatively easily fixed. Any crack bigger than that or near the edge of the windshield will require windshield replacement. Next, check for the depth of the damage. If the damage extends beyond the top layer, you will need to replace it.
  1. Choosing the Right Equipment
When buying a windshield repair kit, go to a trusted auto parts or department store for high-quality equipment. Purchasing a bridge-style windshield repair kit will help with easy repairs. Do note, however, you would need professional help for an in-tact solution. The repair kit features a bridge applicator that sticks to the glass with the help of suction cups and is more stable than a standard syringe applicator. Apart from the kit, you will also need a glass cleaner, tape, microfiber towels, sandpaper and a clean razor blade to help you get rid of minor scratches. Deep scratches are fixed with cerium oxide whereas surface scratches can be repaired with an acrylic scratch remover.
  1. Getting Started
Now it’s time to repair your windshield. First and foremost, clean your windshield thoroughly. Remove any shards of glass that may be stuck inside the crack. Use a blower or acetone to remove any dust particles. If there is debris stuck to the glass, scrub it off with a plastic razor and wipe the glass with a damp microfiber cloth. Wash the windshield with a glass cleaner and dry it with a hairdryer. Once the windshield is cleaned and prepped, check if you need to tap a hole. Although not a necessary step, cracks without a missing glass piece may require this step. Do note that a wrong move here can further damage your windshield. To make a hole, take a bullseye tapper or a needle and gently tap it with the suction cup removal tool.
  1. Repairing the Damage
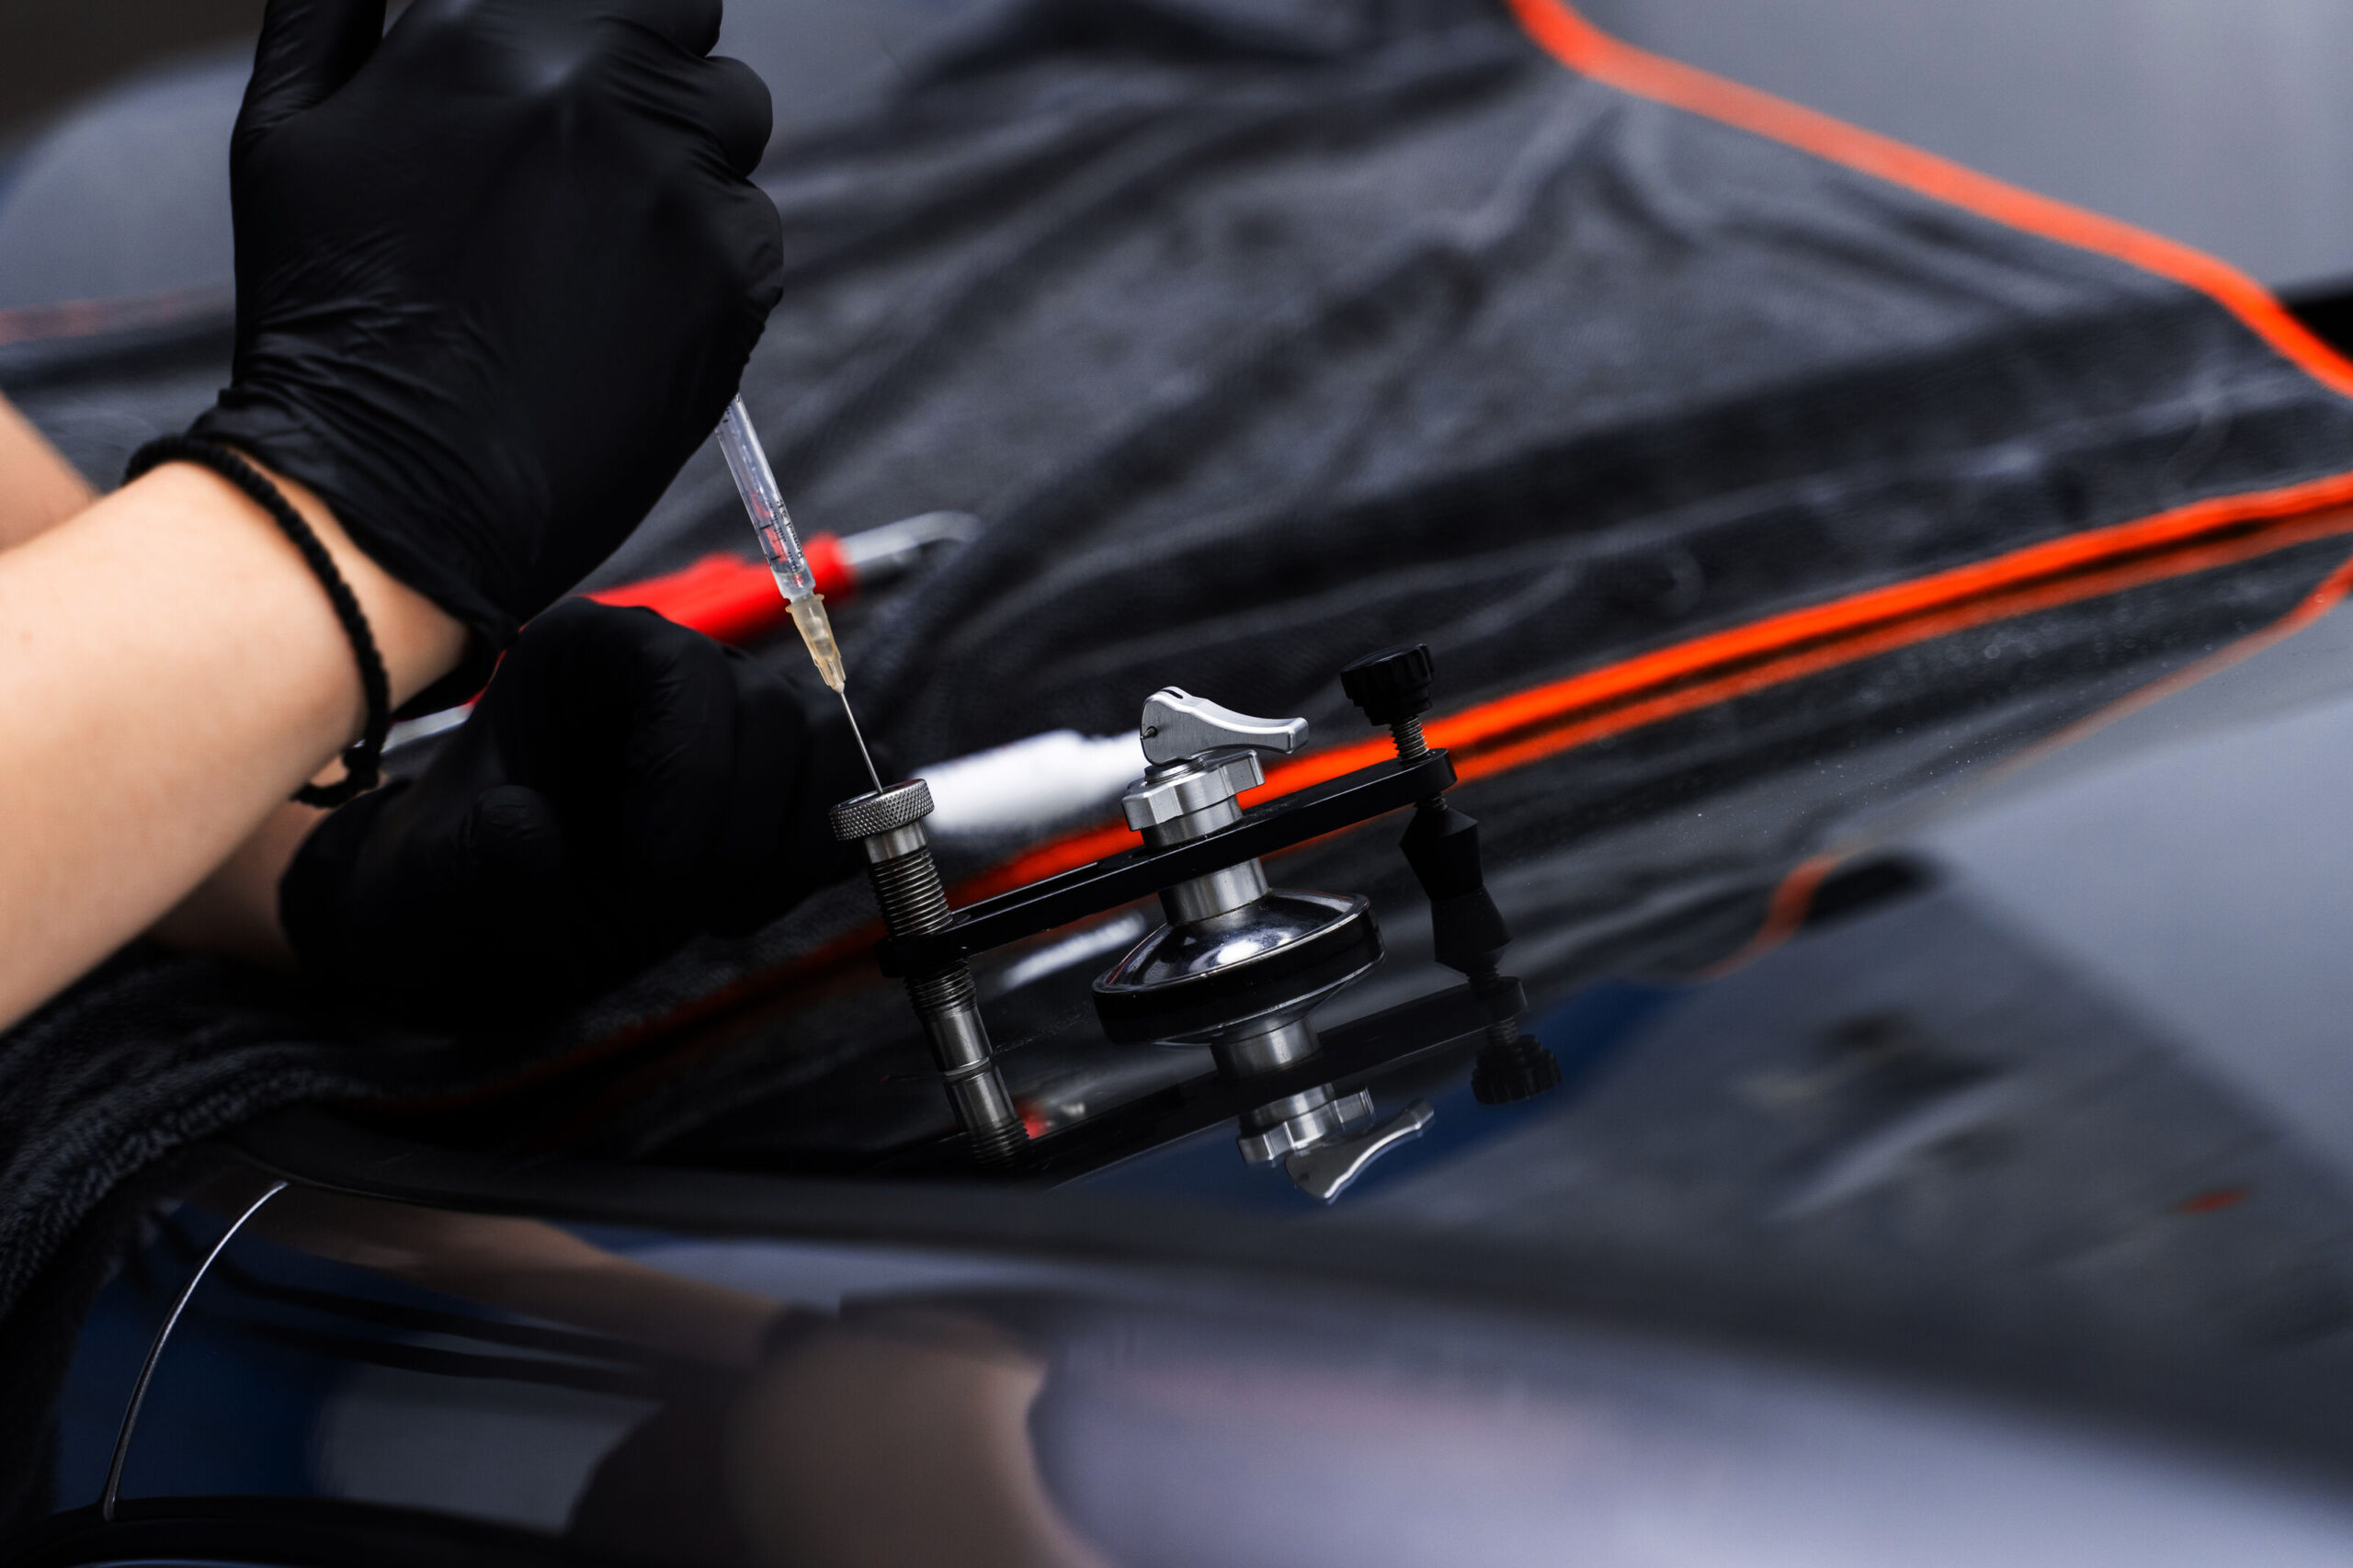
For the next step, you need to set up the applicator. Take some time to read the instruction manual and figure out how it works. If you are fixing a scratch, cover the edges of the windshield with painter’s tape to prevent the polish from splattering into the nooks and crannies of the glass. It also helps you keep track of the spots you need to fix. Position the applicator in such a way that the threaded centre section is directly over the damaged area. Once it’s in position, press the applicator firmly to secure the four arms of the tool. If it is a little off-centre, slide it around to adjust the aim. Now, thread the repair tube into the applicator and screw it tightly. The next step is to load the resin into the applicator. There are typically two types of resin- one to fill cracks and the other for chips. Move the applicator along the glass with the help of lubricant and fill in the cracks with resin. Flex the glass slightly to help the resin reach inside the cracks.
  1. Final Touches
Once you’ve filled the resin, seal the crack with one swift movement. Insert the plunger to force the resin into the damaged area. Apply the curing film on top of the damaged area while it is still moist. Use a razor blade to press the resin towards the edge of the tape for a thin layer. Once you’ve applied the tape, let it cure in the sun or a UV lamp. This process takes about 30-120 minutes depending upon the brightness of the sunlight and brand of lamp. At the end of the day, this is a cheap fix for your windshield, and definitely not a long-term solution. You should always go to a trusted car glass repair shop to get windshield fixed professionally. Head over to AIS Windshield Experts - India’s #1 automotive safety glass repair and replacement network for a professional windshield replacement services by trained technicians.

Similar Post

Leave a comment

Your email address will not be published.

Toll-Free 1800-102-6364

icon9818866364

icon9599087715

iconInsurance Claim Enquiry Form icon
Request A Callback icon Find A Service Centreicon
icon1800-102-6364 icon9818866364 icon9599087715
  Offers & Deals